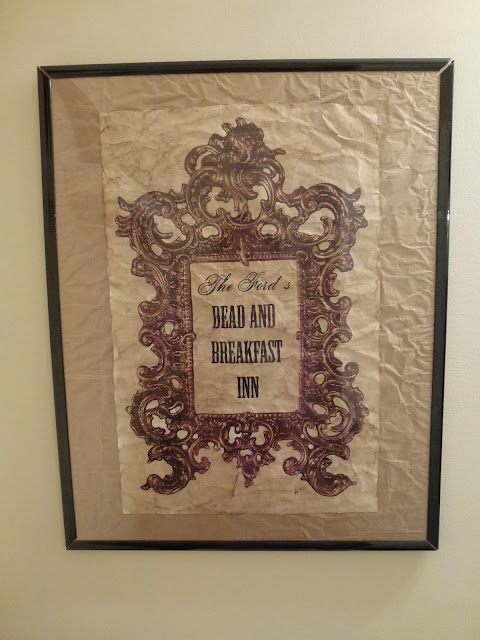
Antiquing Paper
Antiquing Paper How To:
This is a simple project that can be done to any type of normal paper to make it look old. The below print was printed on standard 11'' x 17'' paper with a laser printer. The final look is nothing like the pristine original (sorry no picture, at this time, I will load later).
Materials:
- Print or prints on standard computer paper, or similar material
- Strong coffee, about 1/4 cup. I just saved some from the morning batch.
- Paper towels or sponge paint brush
- Oven
- Cookie sheet
- Frame and "matte" optional
Directions:
1. Crumble paper very well, careful as to not tear or rip, though. Fold and bend multiple ways until many lines and folds are created in the page. Repeat until desired results are achieved.
2. Place paper on cookie sheet and begin "painting" it with the coffee using either the sponge brush or a wadded up paper towel. Try to let coffee run into folds in the paper. The coffee will pool up in certain areas, that is ok.
3. Continue "painting" until you have your page covered as desired. Do not drench the page, a little coffee goes a long way.
4. Sprinkle fresh coffee grounds around the page. If you get too much in one area, spread it around lightly with the brush or paper towel.
5. Place paper in the oven at 225 degrees F. Don't worry, paper doesn't burn until 451 degrees! Check after 10 min to see if the paper is dry. Time will vary depending on how much coffee is on the paper, and how absorbent the paper is. Bake until completely dry.
6. Remove paper from the oven and check results. If you want more antiquing, keep reading, if not enjoy your product!!!
7. For more antiquing: Fold and wrinkle paper again. (I choose to do two rounds on mine, one because there were some white spots I ended up not liking, and two, I wanted more creases and darker areas in the folds.)
8. Turn paper to the reverse side this time and continue the painting process. For me, it was much easier for the coffee to find creases the second time around. I think the paper was harder, so it just natural created better folds. I added more coffee grounds and tried to very, very lightly rub them in. Carefully! Cover any remaining white spots, if desired.
9. Bake paper again, checking every 10 minutes until paper is done and results are achieved as desired.
10. Frame if wanted. I used some extra paper that came in a package I received. Cut to frame size and mount antiqued paper. Hang and enjoy!!!
 |
First Round of coffee "painting" |
 |
Painting and dabbing coffee grounds around |
 |
Small amounts of grounds are dabbed |
 |
How the paper looked when I placed it in the over for the first round |
 |
Some parts were flat, others slightly raised up |
 |
Coffee grounds staining the corners |


Comments
Post a Comment