DIY Headboard: Part 2
Alright, I'm back! I've finally received my fabric and I''m ready to cover the headboard. Here we go for part 2...
  | ||
Align fabric at bottom edge. If using a pattern fabric, make sure it is placed evenly across the whole width of the bottom. Pin in place.
|


 |
| Pick a spot in your pattern and make sure it hits in the exact same spot all across the bottom of the headboard. Notice the wide "V" design I've aligned at the bottom. |
 |
| Around the corners, you will need to clip your fabric. Be sure not to clip to far. This will help you manipulate the fabric around the corners for a smooth finish. |
 |
| Showing pattern aligned at bottom. |
 |
| Clip your corners, spread fabric and pull tight as you move from one side to the other. Secure the this section well as there is a lot of tension. It is wise to under clip vs. over clip. Take your time and be wise so you don't snip to far. |
 |
| Pretty clean finished corner edge. I've clipped free excess fabric that would be in the way. Fold under panel in first, then overlap top sections to secure everything below. Secure very well at the corners. |
 |
| I did it!! Love it! |
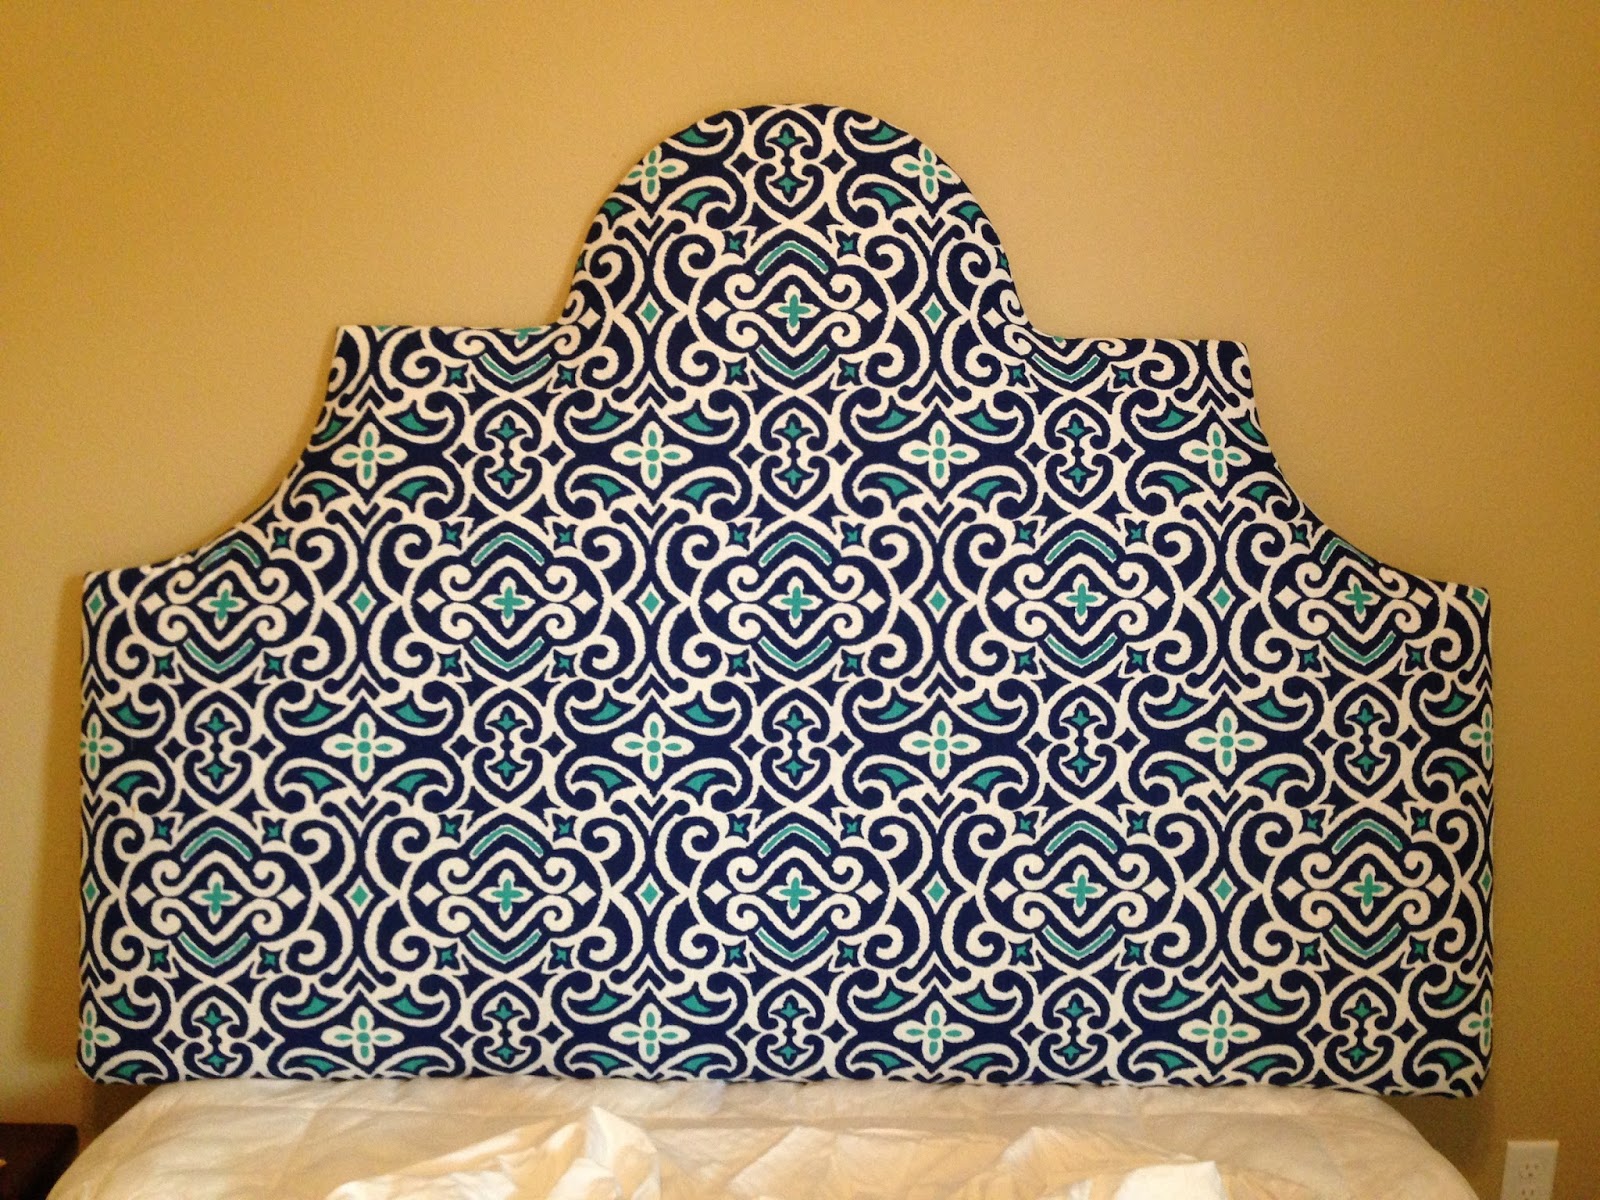 |
| Notice I've planned to have a few extra inches on each side of the headboard to allow for the width and bulkiness of sheets, comforters and pillows. When I planned my width I evaluated it with the bed completely made and with all pillows. Once the bed is made (below), it looks perfect! |
 |
| I'm really liking the mixing of my patters here. It's a little different, a little fun, and it's ME! |
 |
| So proud of my budget friendly, yet amazing, DIY creation! I'm still waiting to put my nailhead trim on, pics to follow once I have time! If you are wondering which fabric I used, please reference the links below. I love this site! I originally found this fabric at JoAnn, but it was a 3 week delivery on special order . So, I did a little online research and got it ordered and delivered in 5 days. Online Fabric Robert Allen New Damask Print |


how did you secure the headboard to the wall?
ReplyDeleteHi, I am so sorry I am just seeing your comment! I attached the headboard to 2''x2'' square wooden posts I got at Lowe's. With the headboard being so close to the wall, we didn't have to necessarily secure it to the wall. However, I will tell you the easiest thing you can do, that is not permanent; use silly putty or sticky tack to put between the wood and wall. It won't stain the wall and is strong enough to hold it perfectly in place. Did you end up making a headboard?!
Delete